

Are you looking for the perfect furniture to enhance your educational projects? Look no further! Our new student desk range offers a variety of styles and dimensions to suit all needs. With our easy-to-use Revit configuration options, you can quickly customize each desk according to real-world scenarios. Learn how these desks can be used in classrooms, libraries and other learning environments - as well as how to configure them with ease - by reading on!
Customizing our student desks
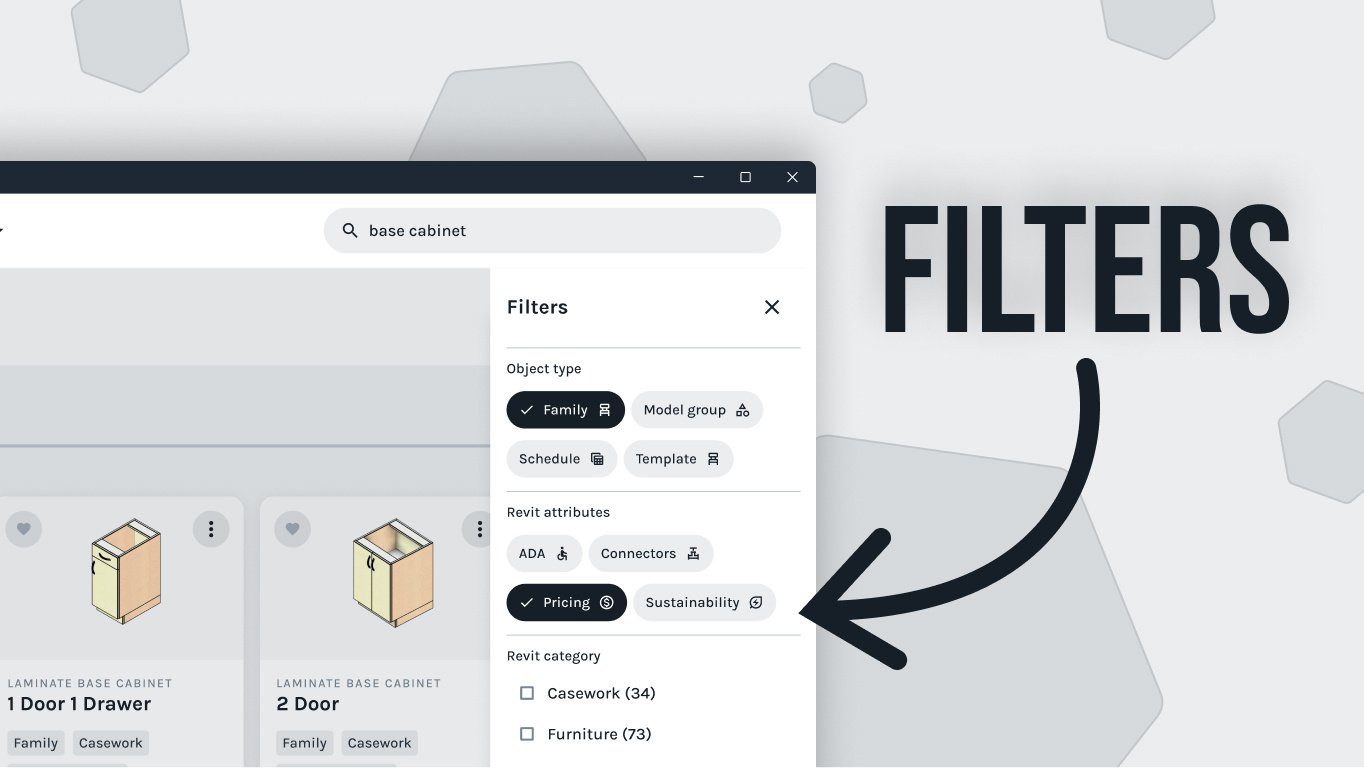
To access these families quickly, simply open your Fetch app, and at the top you can search for your product. Then click the three dots to insert it. We have already pre-loaded ours into our project. These desks share several configuration options which can be modified by clicking and going to the Properties panel. Under Construction, we can change the style of the desk by hovering over the "Enter Options" number, and we will see a tooltip window pop up with all the options. We'll click number four, the Open Shelf.
Then, under Dimension, we can choose the size of the desk and click on option number two: the 20-inch by 26-inch desk. We can also modify its height: let's enter 30 inches. Now that's how quick and simple we can modify our desks family in Revit. For other additional information on this family, we scroll down on the Properties panel and we'll see the product code and pricing details.
Conclusion
In conclusion, our student desks are the perfect addition to your upcoming educational projects. We offer a variety of styles and dimensions to suit all needs, allowing you to easily adjust them according to real-world options. To begin your journey with us, download and open the Fetch app - where everything starts!
Tags:
Revit