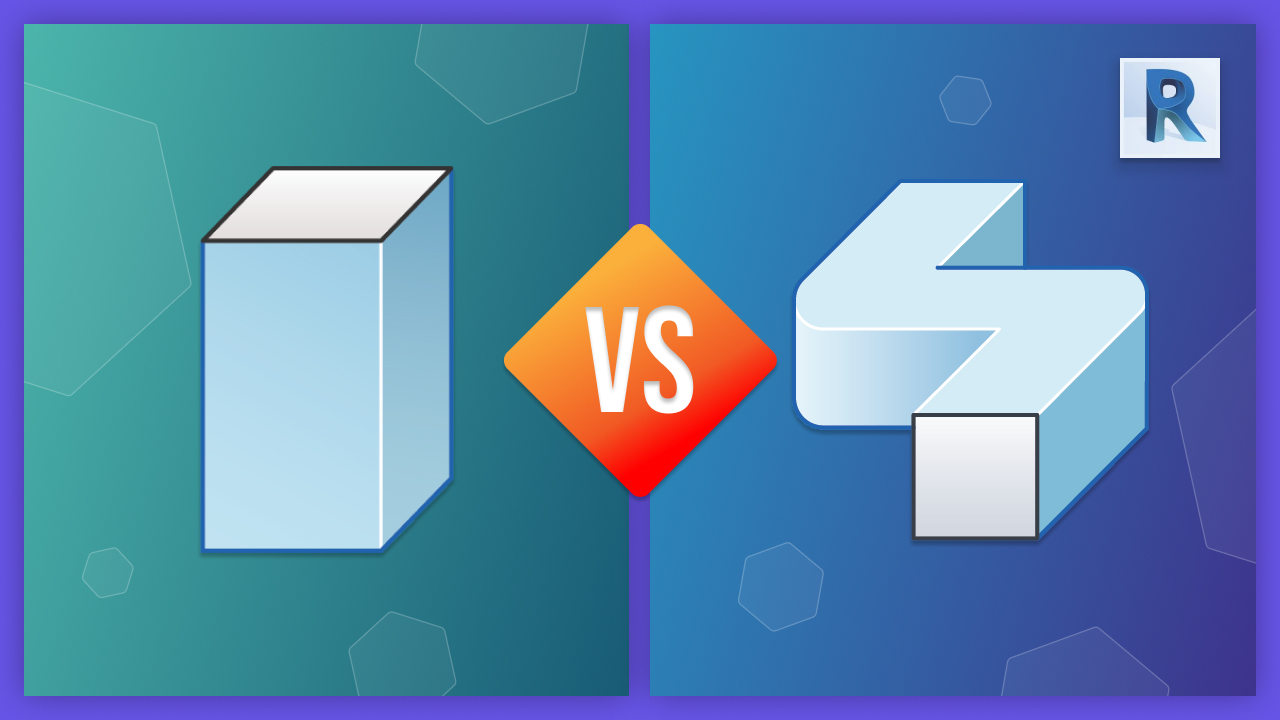
Revit is a powerful 3D modeling software that provides users with the ability to create complex objects of any shape or size. Two of the most commonly used modeling functions within Revit are Extrusion and Sweep, which offer users different advantages and disadvantages when it comes to creating custom shapes and forms. In this blog post we will explore the differences between these two techniques, as well as look at when each one should be used in order to maximize your workflow efficiency. Revit offers a variety of powerful tools and techniques to create 3D models. Two of the most commonly used modeling functions are Extrusion and Sweep, and in this blog post we will explore the differences between these two techniques, as well as when to use each one.
Extrusion is a simple technique used to create 3D objects by pushing a 2D shape through space. This type of modeling is often used to create basic shapes such as cylinders or rectangles, but it can also be used for more complex shapes. To create an extrusion, you first need to set up your reference plane for whatever shape you want to extrude. Then you draw your shape using the pick line tool – locking each line to its respective reference plane. After trimming off any excess lines, click the green check mark to finish the sketch before finally locking the start and end of the Extrusion into their respective reference planes.
One of the benefits of extrusions is that they are fairly easy and simple to use, allowing users to quickly create basic shapes like rectangular prisms. Additionally, extrusions are parametric which means that users can modify the dimensions of a shape and it will automatically update accordingly. However, extrusions have limitations when it comes to creating more complex shapes – especially those with curves or irregular angles – since all faces must be locked onto a reference plane in order for them to remain parametric in nature.
Sweep is a more advanced technique used for creating 3D objects by sweeping a closed 2D shape along a path curve. Sweeps offer more flexibility than extrusions and provide users with increased capabilities for creating complex shapes with curves or irregular angles; something that is not possible with extrusions alone due to their limited control over geometry’s reference planes. Additionally, custom 3D paths can be created using sweeps so that users can get exactly what they need for their project; even manipulating angles or curves if necessary. Sweeps also allow users to utilize parametric profile families which can then be linked into higher level families using type parameters (such as linking a sweep’s height parameter with a tabletop thickness parameter). This grants users access to even more customization options allowing them maximize their modeling potential while minimizing time spent on projects due to being able to load from an already existing library of custom profiles (e.g., steel sections).
Therefore when deciding whether or not a user should use either Extrusion or Sweep when modeling in Revit it’s important that they weigh all pros and cons before deciding on which technique fits best within their workflow: Using Extrusion would require less overall complexity but provides less flexibility whereas Sweep offers incredible power but requires greater time commitments in order take full advantage of its featureset.
In conclusion, when it comes to creating 3D models in Revit, the choice between using Extrusion or Sweep is ultimately up to you and your workflow. Each technique has its own advantages and disadvantages that should be weighed carefully before deciding which one fits best for you. If you would like more information on how to use these techniques – as well as tips on how to maximize their potential within your project - please follow our YouTube channel for more tutorials just like this one!


