

If you're looking for a way to simplify your plan views when creating families, you've come to the right place. In this tutorial, we'll walk through the process of using masking regions, detail lines, and levels of detail assignments and families in order to create a more efficient plan view. At the end of this article, you can find a link to download Fetch, an app with a vertical Carousel model available that will help you better understand what we'll be teaching.
Let's dive into why this is important:
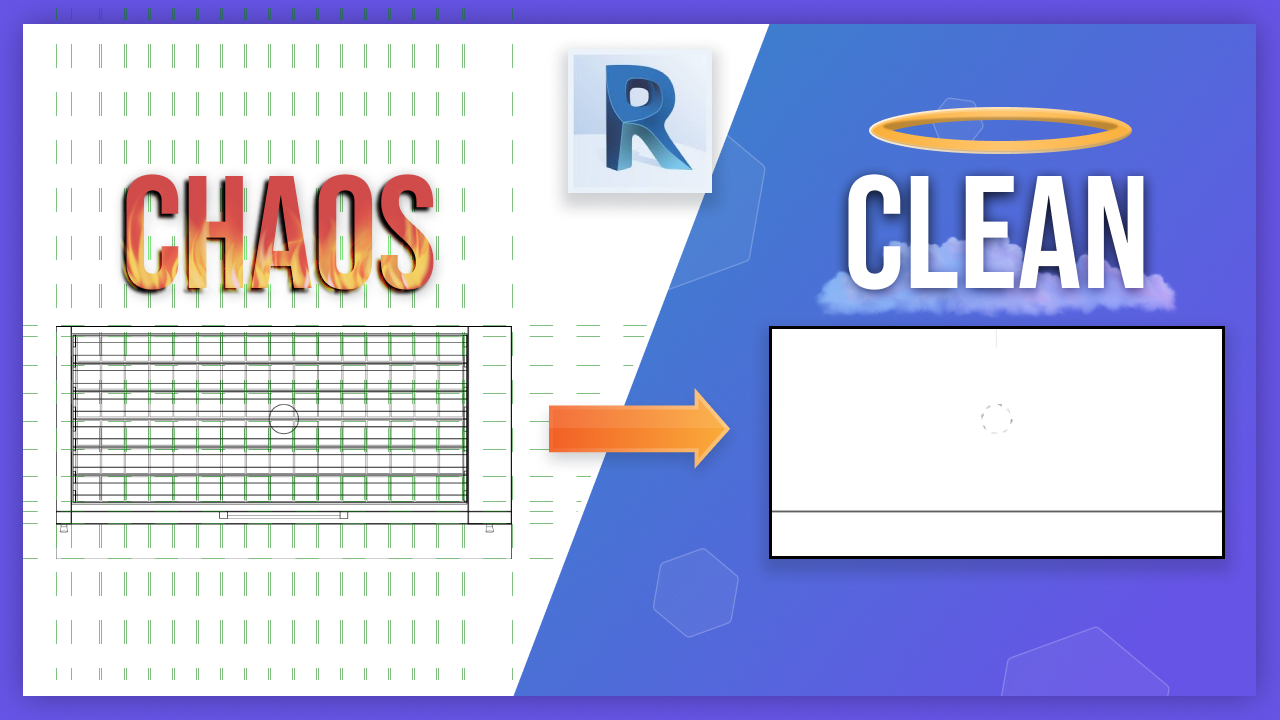
1. Hiding excess geometry reduces the number of lines in extraneous details seen in the plan making objects easier to notice even in wireframe. This helps declutter your view as well as make it easier for people viewing it to understand what they are looking at with fewer distractions.
2. Assigning model elements to levels of detail can reduce the amount of stuff Revit has to render in any given view which can help Revit not become bogged out and sluggish - especially if you're working on a large or multi-story project. Which means Revit can render faster!
3. Removing or hiding unnecessary reference planes is good practice so that Dimensions leader lines snap to the edges instead of random references on the side such as this - it looks cleaner and allows viewers to get their bearings more quickly when navigating through your plan view.
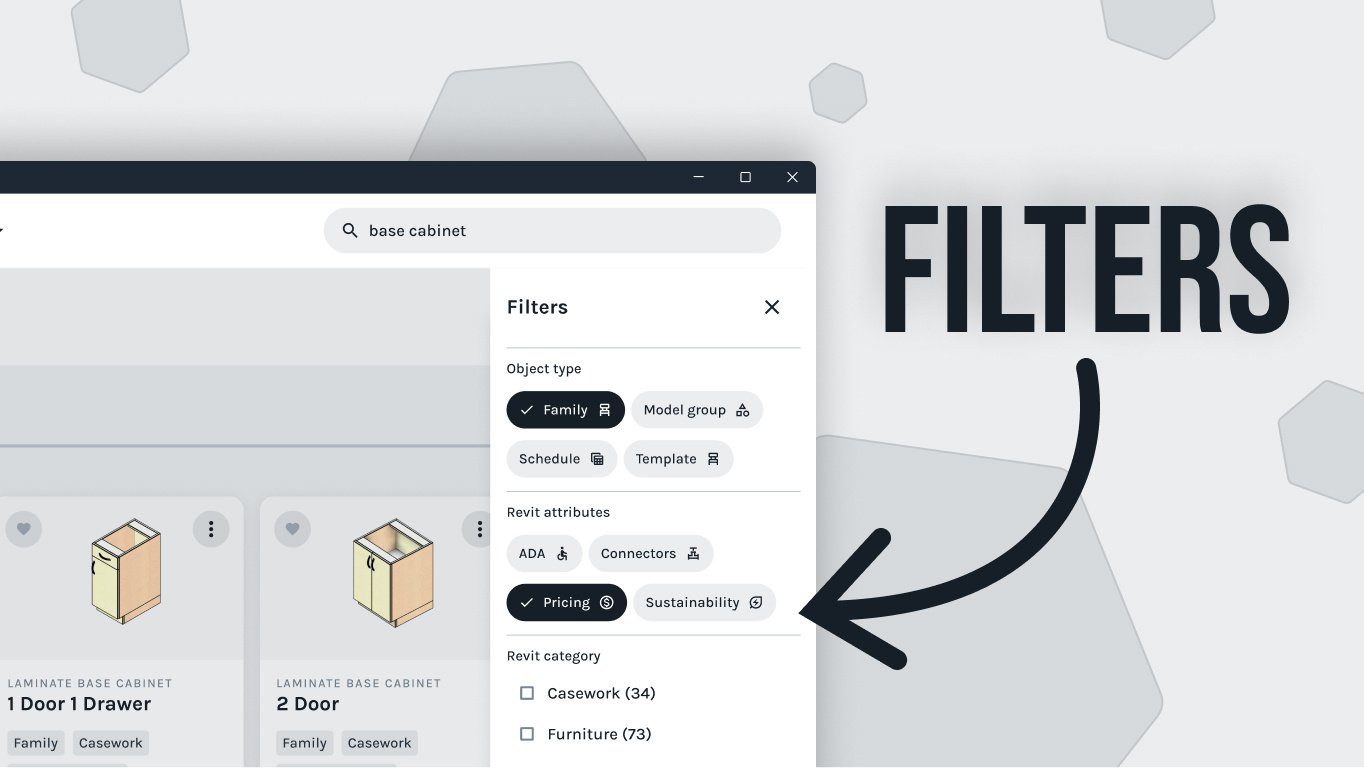
Let’s move on now and look at how we can actually do these things! The first step is setting up our object styles which can be found under the Masking Regions manage tab - I’ve already set up three line types for this category: SSG equipment near far and overhead with this which is a dashed option - once that’s done switch to your plan View and enable preview visibility settings to ensure that we turned everything off correctly.
Now we have blank plan with reference planes only - next step is using masking region annotations which uses our line types selected earlier; select all of your lines needed from left back right and front then trim off any extra lines - before clicking “OK” make sure you edit its work plane and set it at top level (the same process applies for nested families). Once that’s done assign visibility parameter for each family depending on whether they are optional accessories or necessary additions (in our case optional) by clicking “Add Work Surface” - lastly since some reference planes may be unnecessary hide them using the property browser drop down menu selecting “Is Reference Plane?” options as “Not A Reference Plane".
And there you have it! A clear easy-to-understand plan drawing with higher levels of readability thanks to simplified object views masked regions annotated lines parameters assigned visibility etc. With these few steps, you've now learned how to make work faster easier and more organized when creating plans with families!
To wrap things up here's where to find the Fetch app free download link. It includes a vertical carousel model used earlier so feel free check it out if you need further guidance or want examples for comparison purposes! Thank you again for taking time out read/watch this tutorial!