

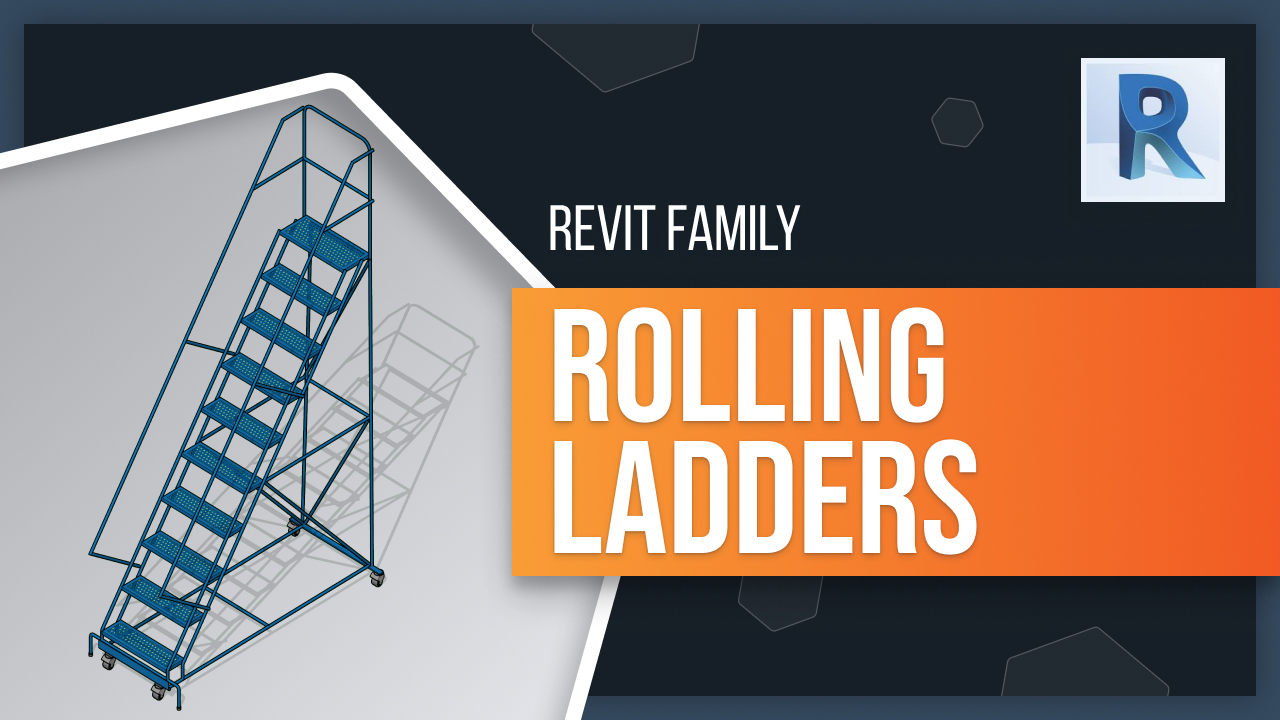
Are you looking for a way to increase safety and efficiency in your warehouse or retail setting? Look no further than the new Warehouse Ladder Family! This adjustable stepladder is perfect for reaching items stored overhead, and can be adjusted from just 10 inches up to over 10 feet. In this blog article, we'll show you how to use this family and what it might look like in the context of a project. So read on to learn more about this incredible tool! Today, I'm here to introduce our brand new Warehouse Ladder Family. This incline stepladder can be used in a warehouse or retail setting where employees need to reach items stored overhead safely. It can adjust from just 10 inches up to over 10 feet by simply changing the number of steps.
This ladder family is an incredible tool for planning and optimizing warehouse layouts as well as spicing up your renderings! In this blog article, I'll show you how to use this family and what it might look like in the context of a project.
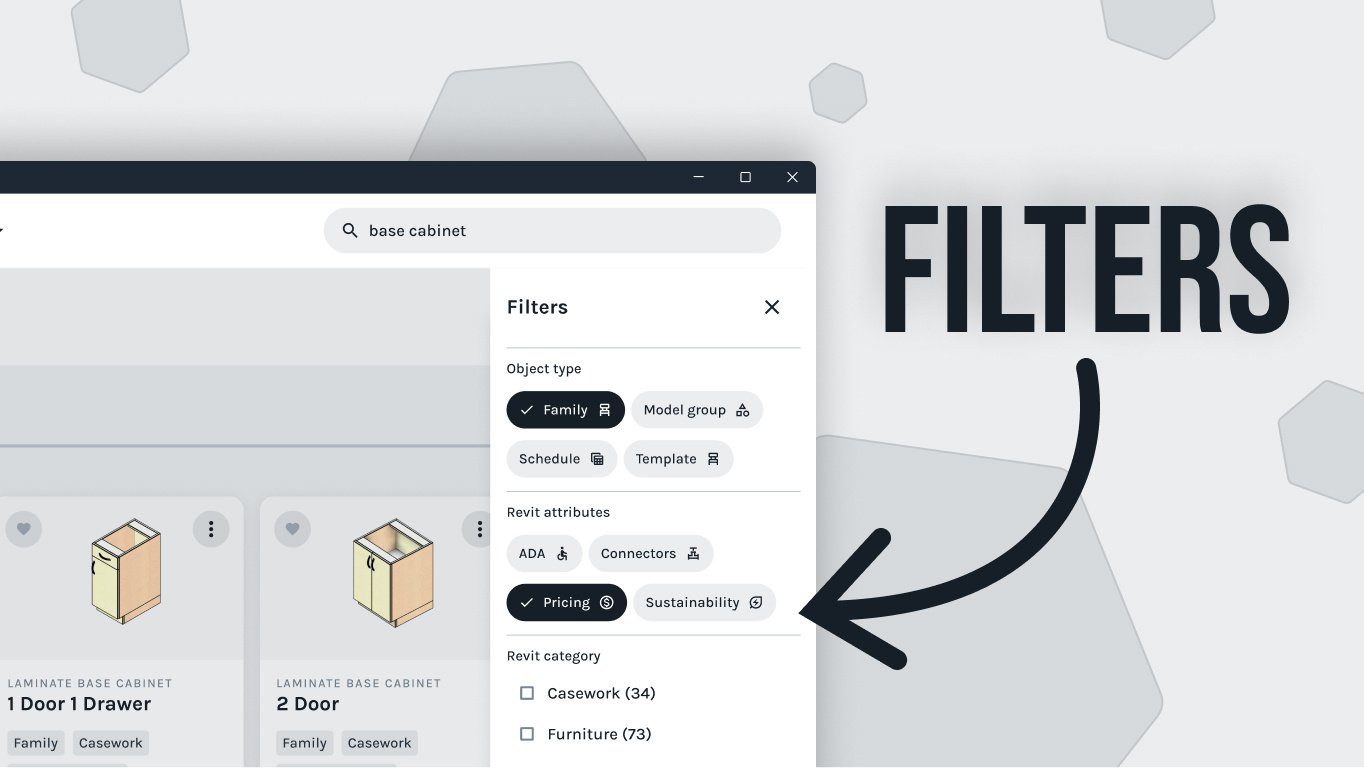
First things first: How do we add it into our project? To do so, open the Fetch app and click on the picture before placing it into your project. Then you'll want to decide how tall (or short) you'd like your ladder depending on where you plan on using it - each step adds 10 inches so if the top shelf of pallet racks is 16 feet then 15 steps should get you there!
Next up are safety options - any ladder over 5 steps must have a handrail which can easily be added or removed depending on your needs. Additionally, toe boards may also be necessary depending upon local code regulations - however these too can easily be added or removed as needed. Lastly, you may need to add outriggers with three-to-one ratio of the ladder's width and height depending on local code - again, this can all be adjusted within the project.
Now that we have our ladder in place, it's time to move it into position. No matter where you plan on using your ladder, make sure to measure clearance first so you know exactly how much space is needed and how it will impact the area surrounding it.
And that’s a wrap for today’s blog article! If this video was helpful leave us a comment and let us know what you learned and don't forget to get subscribed for future content and tutorials until next time. Thanks for reading!
Tags:
Revit