

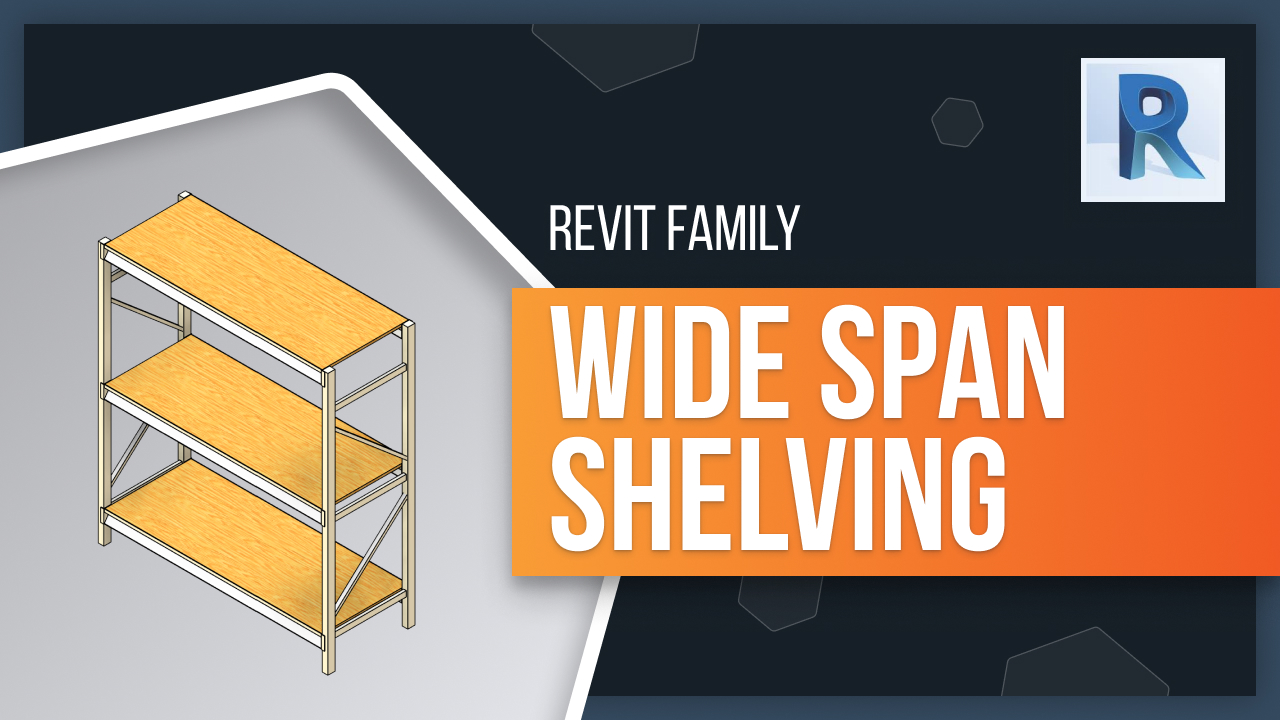
This tutorial will take you through the process of creating and customizing a wide-span shelving family. We'll look at how to use the Fetch application to find suitable products with real world standard dimensions, as well as how to modify construction materials and finishes and adjust overall dimensions for maximum flexibility. By following this guide, you can create a dynamic shelving family that is tailored specifically to your needs.In this article, we will be looking at our wide span shelving Revit family. This multi-functional product can be used in all kinds of spaces, such as industrial, healthcare, public safety and even museum settings. They are specifically designed for our users to visualize their Storage Solutions or use them to build their own custom solutions right down to the last shelf. This example shows us the wide span shelving product in an industrial setting. Let's see how we could modify one of these products by clicking and selecting it, then heading to the Properties tab to the left.
We have a Construction Section with many modification options. See how quickly we can edit this family to meet our needs. Let's begin by entering a beam type. By hovering over the section, we see a small window pop up and it gives us information about what each number represents. Let's go from two up to three, modifying it to be a "heavy duty," then applying it.
Let's go down and enter the number of shelves. Let's bring it up to four and apply. By scrolling down, we see the Materials and Finishes section. By hovering over it, a small window will once again show up with information to designate the material. Let's change this from two (particle board) to three (ribbed) and apply.
We could compare the shelving next to the one we modified and see how drastically we have changed it with just a few modification options. Let's switch over to view our product in more depth.
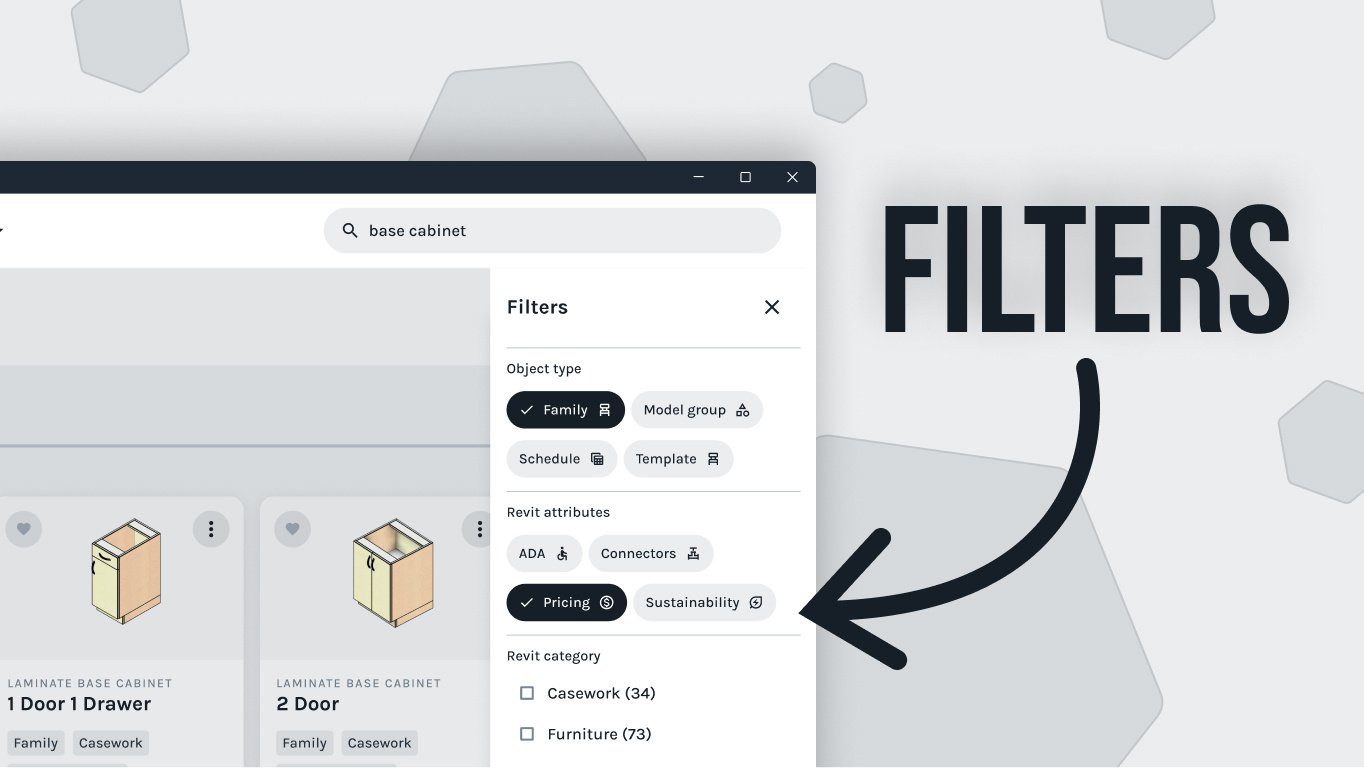
I have already pre-loaded the widespan shelving, but to import this family, remember you can do so by opening up your Fetch App, searching for the product, selecting your products, and clicking these three vertical ellipses and clicking "Insert".
Now, select your family and head to the Properties tab to the left, and then click on the Edit Type button. This will open up a window with the type parameters that show the product's real-world standard widths and heights available.
You can also find other useful information such as the product's lead time. So make sure to go through this information and you will be able to modify your family with its real-world options.
Let's cancel out of that window since we still have our family selected, and we will continue on the Properties tab and head down to the Construction section. We see its first option is to modify it as a Starter or an Adder. Right now, we have it as a starter.
Now let's say we want to add another one. Let's go to the plan view, select your family, go to the modify tab, and we see a copy option. You could click on it or hit the Ctrl button on your keyboard. Once you select and copy, we bring this copied family to the right place, then go to the Properties tab and click on Modify Adder. This will modify the family's Edge and allow it to be intermingled with the neighbor product. Now, we want to align these two and I'm going to hit the ALT keys. Let's see how these two look in 3D by clicking the Little House button up top.
Now, with these two side-by-side, we will see the difference between them better. When making modifications, let's go back to selecting our starter family and modify it on the Properties tab, from it being welded upright to a knock-down uprights. This modifies the side structure and supports. We will have the option to enter a beam type number, which designates the depth of the beams. Let's go from one, low profile, to two, standard duty.
As we saw previously in our example, we could enter the number of shelves. Let's bring this up to four. Next, it's the enter deck material number; we see how the bottom of the intersection is grayed out with the text beginning with the uppercase letter "A", followed by a number of shelves.
This is a confirmation to the user as to what is actually happening in the family, based on what they had previously entered. This could be seen throughout, like the actual beam type, again confirming what had previously been entered by the user.
Be sure to look out for these; they are usually right at the bottom of each section, where the user is allowed to manually enter any type of information.
We will see the Materials and Finishes section. You are able to modify the materials based on finishes. So, by selecting and clicking on the button with the three small dots to the right, a materials window will show up where you can change and modify the material and continue looking through this section.
Next, we have the Enter Deck Material number which allows us to designate the materials of the unit by hovering over it; a pop-up window with information will show up.
It is currently at two particle boards. Let's change it to four wires and apply. Let's delete the Adder family and continue modifying the first family by clicking on it and scrolling further down on the Properties tab. In the Dimensions section, we can begin to modify its overall dimensions. Let's begin with the width and change it to 96 inches, modify the depth to 48 inches, its height to 144 inches, and apply.
This will instantly modify your family and make it a lot larger. Lastly, if you notice we skipped over the entered first shelf height; this is because, if you look closely, eight inches is entered but at the bottom its actual first shelf height is at nine inches. This is because the standard real-world dimensions for this specific product does not include eight inches and its actual first shelf height was rounded up to the nearest available standard Dimension.
So, let's bring it up from 9 inches to 12 inches. By clicking "Apply", we can see how the shelf's height was brought up.
In conclusion, creating a wide-span shelving family that is tailored to your specific needs can be achieved easily with the help of the Fetch application and some basic modifications. By understanding how to use real-world standard dimensions, modify construction materials and finishes, and adjust overall dimensions, you will have access to a dynamic shelving system that meets all of your storage requirements. With these tips in mind, start customizing today!